Tuesday, December 7, 2010

Reindeer Ornament

I was in the mood to create a Christmas ornament and this is what I came up with.
The tag shape was cut from the "winter frolic" Cricut cartridge at 5 inches. I cut it 3 times in my Expression; once from patterned paper; once from SU Kraft card stock (for the back side); and finally once from thin chipboard (I used a Pop Tart box). I used distress ink (vintage photo) around all the edges and adhered the three pieces together using Mod Podge. I mixed a little PearlEx "sparkle gold" powder with some Mod Podge and brushed it over the front and back of the tag. Makes it sparkle!!
The poinsettia was cut from the "winter woodland" Cricut cartridge in three different sizes; two at 3";
one at 2-1/2"; and one at 2". I crumpled them up and inked the edges with "fired brick" distress ink. I also cut the coordinating leaves from the poinsettia cut at 3" in green card stock and distressed it as well.
The reindeer was cut from the "winter woodland" Cricut cartridge at 2-1/2" in the blackout feature. I added some flat back adhesive pearls around his neck, a black gem for his eye, and some bling for his nose ( I didn't have any red bling or I would of used that)
Thanks for taking a look.

Wednesday, August 4, 2010

Altered Tablet

I purchased this tablet from my local Dollar General. It measures 5-3/4" x 9".
I covered it using K&Co "Peabody" collection and also "life's journey" collection. Using a foam brush, I lightly brushed on a bit of "sheer gold glaze" over my patterned paper, dried it a little with my heat gun. I distressed the edges with "vintage photo" ink. I did this same technique to all the papers I will be adding.
This next strip of paper, I ran it through my Cuttlebug using the "Victoria" embossing folder. I brushed the sheer gold glaze onto the raised parts and distressed with vintage photo ink and added glossy accents. 
I cut this marquee shape from the "Storybook" Cricut cartridge at 7". Again, I brushed it with the sheer gold glaze and distressed with vintage photo ink.
I cut this birdcage from "Straight from the Nest" Cricut cartridge at 5". I cut it first in a light weight chipboard and then again in my patterned paper. I glued it together with Zig 2-way glue. I brushed it with the sheer gold glaze and distressed with the vintage photo ink. For added interest I applied small gold half beads to the cage, dangle beads for the bottom and a gem for the birds wing. 
I created these flowers myself just by layering some Prima "got flowers", crumpled them up, distressed each layer with vintage photo ink, sheer gold glaze and glossy accents along the edges. I hot glued all the layers together. The leaves were also distressed the same way. I was going to use that piece of lace but decided not to when putting everything together.
I tied this Stampin" Up satin ribbon into a bow, added a small pin and tag. The metal frame I distressed and added an alphabet sticker to it.
Now, when I put it all together here is what I got.

Wednesday, June 30, 2010

My Pink Stamper Color Challenge

What a FAST and FUN 3 month term it's been being a member of the My Pink Design Team. Here is my project for the last challenge, which Robyn chose to do a color challenge using BROWN, GREEN, ORANGE, and PINK.

I used "straight from the nest" Cricut cartridge for the birds, which was the "border feature" and cut them at 3-1/2". The sentiment is from the "tweety-hoo" stamp set by My Pink Stamper. Paper is My Minds Eye and the cardstock is DCWV. I also used some wiggle eyes, a white pen, and a scallop border punch.

I would like to thank Robyn for a being a WONDERFUL design team leader and also for giving me this awesome opportunity and the ladies that I served with were FANTASTIC. Last but not least, I'd like to thank YOU, my viewers, for following me, supporting me, and leaving comments THANKS EVERYONE!

GOOD LUCK TO THE FUTURE DESIGN TEAM!!!

Monday, June 28, 2010

June "summer fun" project

For My Pink Design Team June project, the theme was "summer fun"!

I used "everyday paper dolls" Cricut cartridge for the grass, sun, and cloud......"create a critter" for the bird......"just because cards" for the tree.

The "fun memories" are from My Pink Stamper stamps "friends & family" set. For the sun's face I used Peachy Keen's "everyday character face assortment".

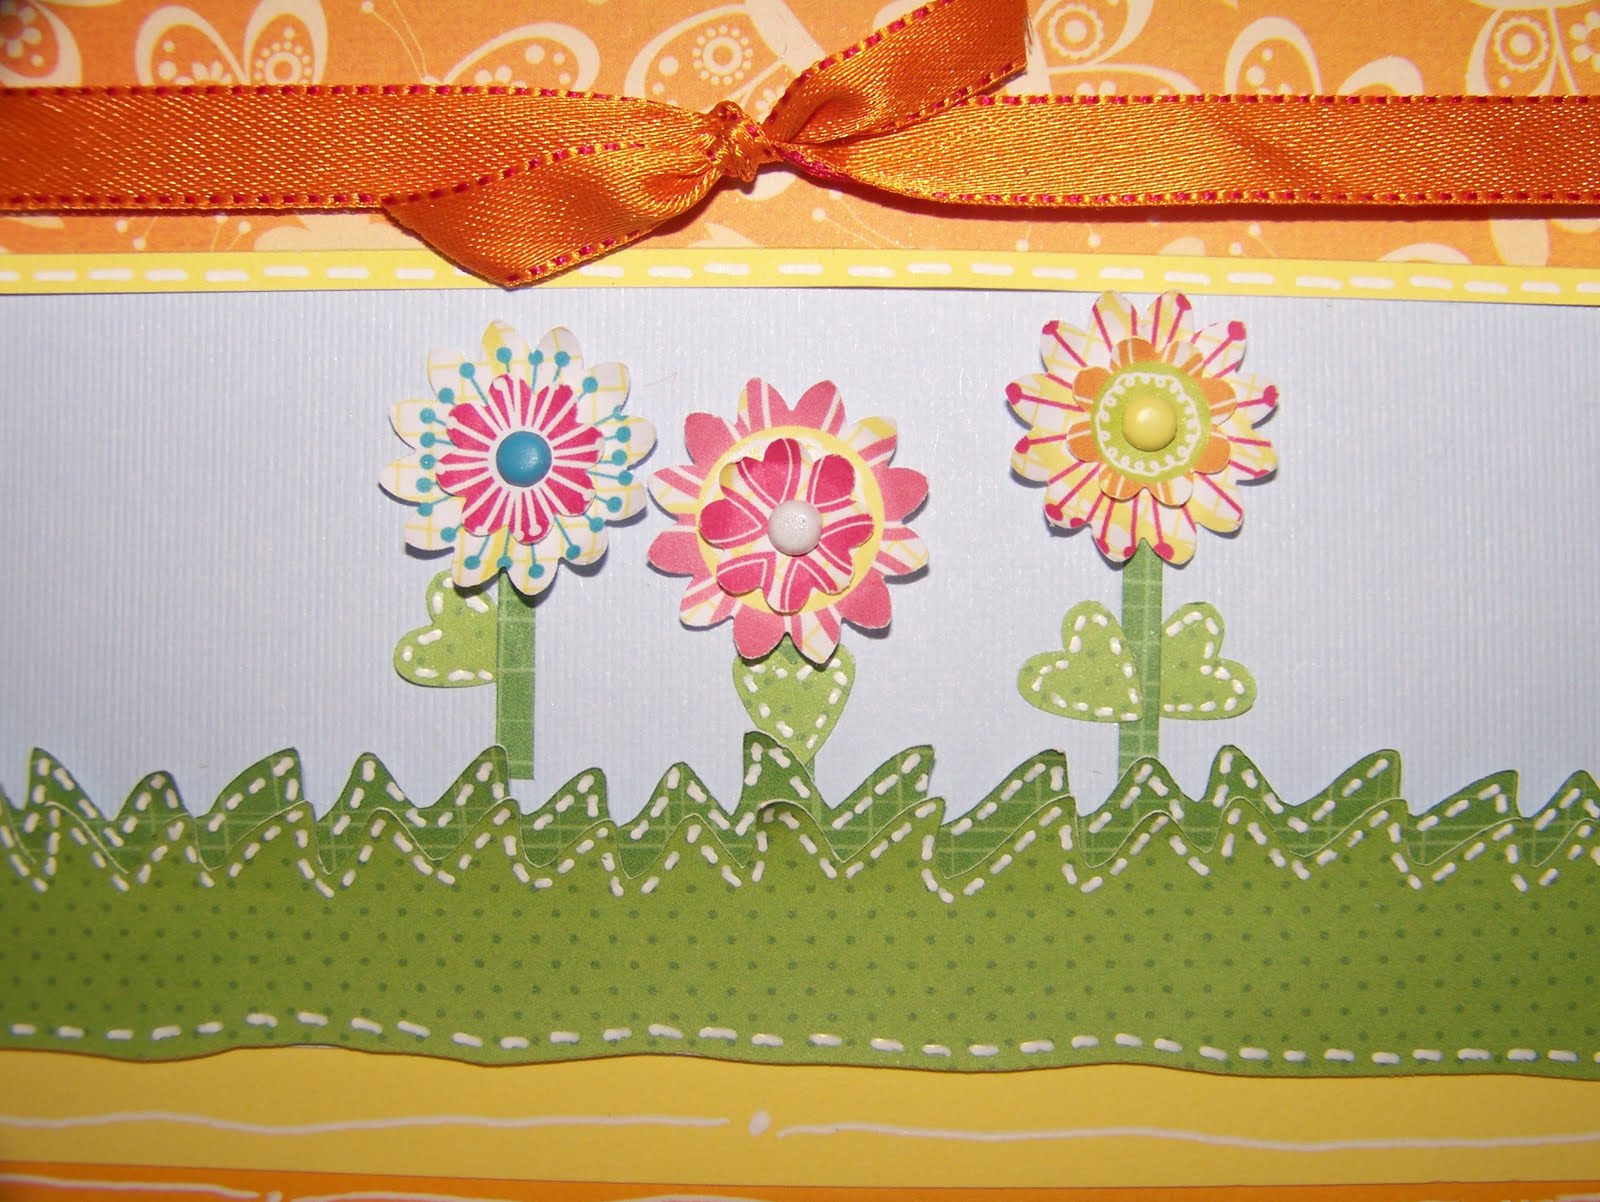
Cardstock and pattern paper is DCWV "flower shower stack". I did a lot of white stitch lines for a more "playful" feel!

Thursday, June 17, 2010

HELLO THURSDAY

After all the excitement of the new 24 Lite cartridges and the variety of those, I couldn't even begin to think of what type of cartridges would be released today on HELLO THURSDAY. Well, much to my surprise it was three Seasonals...H2O...Pumpkin Carving...and...October 31st. Plus a full content cartridge 3 Birds on Parade, which I understand Birds on Parade will be available through HSN in July. I really like ALL of these and hope to get my hands on them. The Seasonals will also be available in July, according to the Cricut Newsletter.

Just a friendly reminder that Megan at Above Rubies Studio is doing a LIVE show at 10pm EST. If you've commented on Above Rubies Studio during the celebration week you will want to watch as she'll be announcing winners! GOOD LUCK to everyone!!

Friday, June 11, 2010

Celebration Giveaway all week

Happy 1 year celebration for Above Rubies Studio!! Megan is having terrific giveaways this week starting June 10th -17th and end with a LIVE show on the 17th at 10pm EST to announce the winners. You won't want to miss it! CONGRATULATIONS Megan & Above Rubies Studio.

Thursday, June 10, 2010

Cricut Lite Cartridges

You can see all of these new cartridges at Cricut.

I was able to pick up Wildlife the other day...so that's 1 down...LOL
Here is a list of the ones that I like (in no particular order)...
*Celebrate with a Flourish
*Splish Splash
*Handy Man
*Savory
*Block Party
*Lovely Floral
*Hoot 'n' Holler
*Carousel
*Bloom
*Live Simply
*Lacy Labels
*Billionaire
*Feeling Groovy
*Cherry Limade
*Varsity Letter